-
-
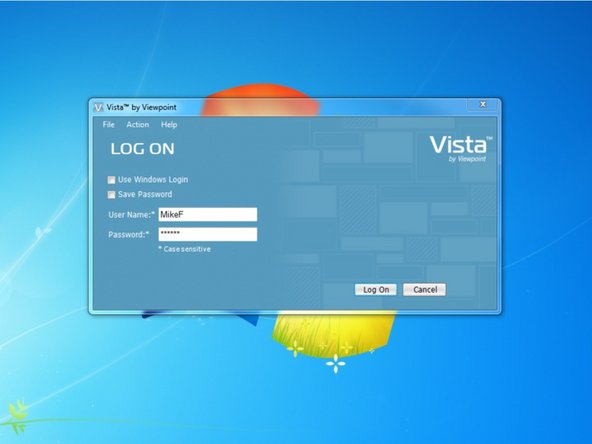
Log in to Viewpoint.
-
-
-
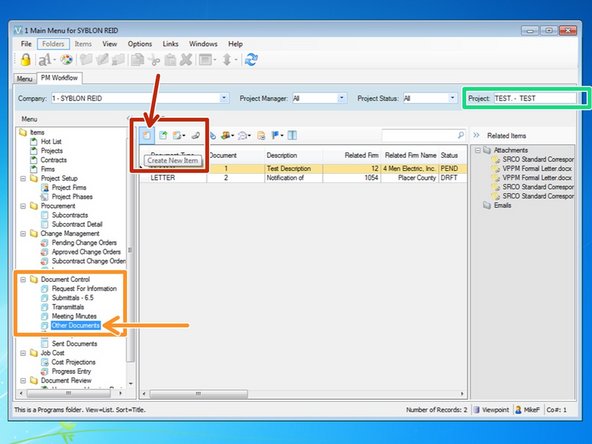
To create a letter, you will need to open the "Other Documents" program from the Document Control folder.
-
Enter in your project.
-
Click on the "Create New Item" icon.
-
-
-
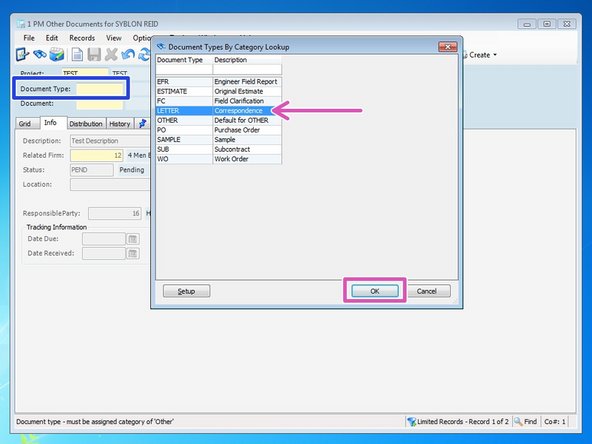
Click on the "Document Type" field and press the F4 key.
-
Select "LETTER" and click OK.
-
-
-
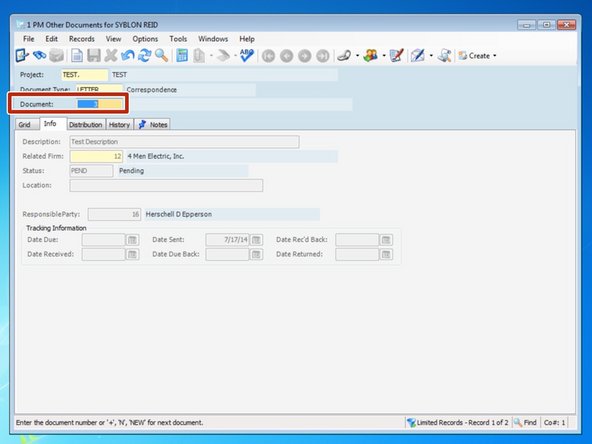
Viewpoint will automatically default to the next available number. You can change this to a new number if you want to.
-
-
-
Add a description for your letter.
-
-
-
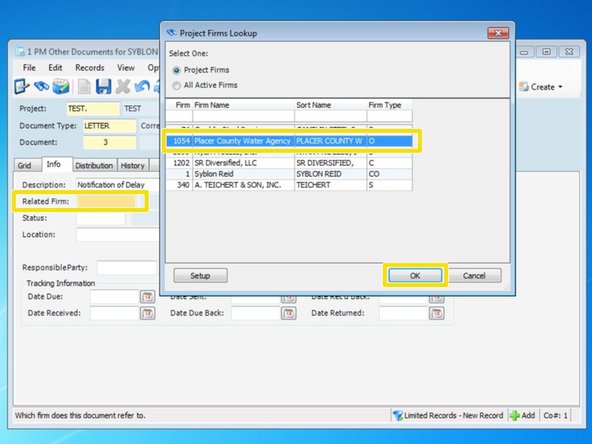
You will need to add a related firm to your letter, the firm that your letter is going to. From the "Related Firm" field, you can press the F4 key to choose from Viewpoint's lookup screen if you do not know your Firm's number.
-
-
-
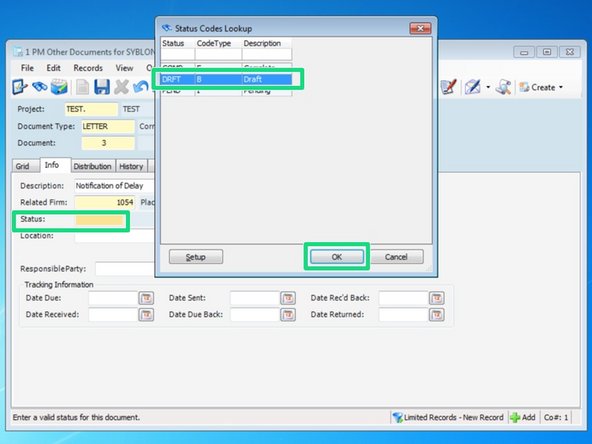
Add a status of the letter. Press the F4 key to see a list of statuses from Viewpoint's lookup table.
-
-
-
Insert the employee number of the Responsible Party. This is the person that the letter will be from.
-
-
-
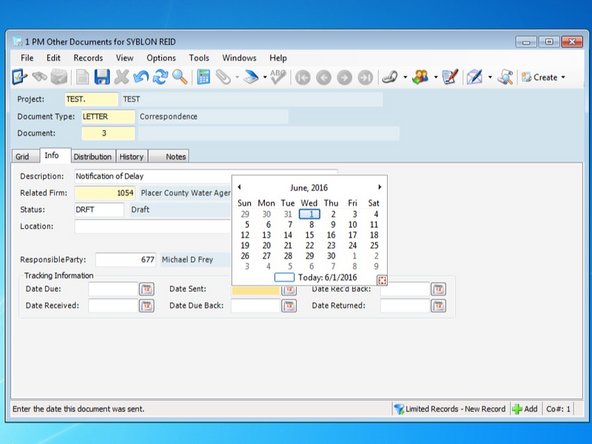
Add the dates for this letter. The date entered in the "Date Sent" field is the date that will appear on the letter. If you are expecting a response, you can also add "Date Due Back" and "Date Rec'd" to help you keep track of your letter in Viewpoint.
-
-
-
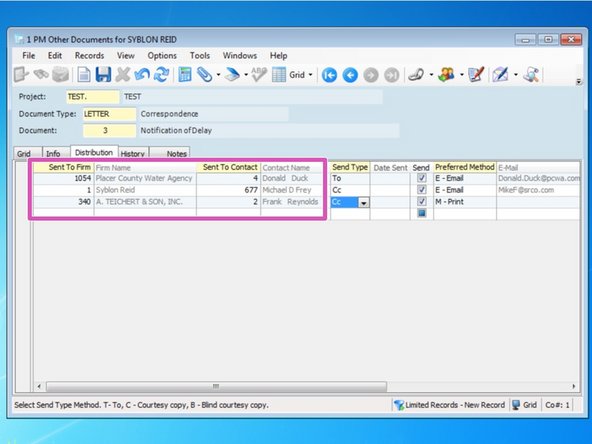
Add contacts that need to receive this letter.
-
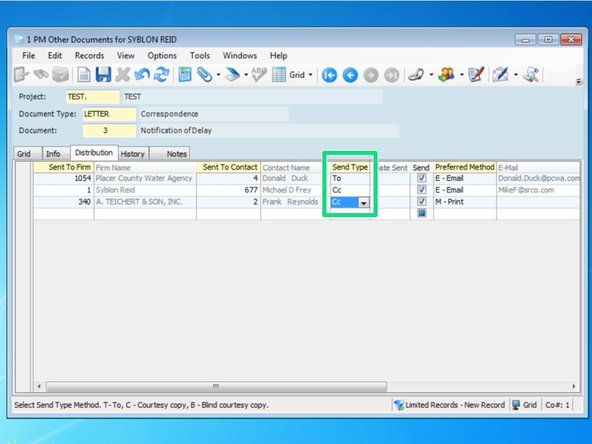
Select whether the contacts are having the letter sent "TO" them or "CCd" to them. One letter will be created for each contact that has Send Type "TO" selected, with each letter being addressed to that "TO" contact.
-
-
-
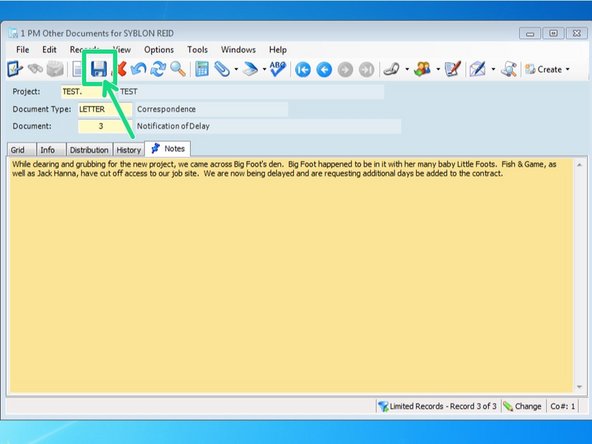
From the "Notes" tab, type the body of your message.
-
From this screen, you won't be able to make any modifications to the font, including underlining or bolding. If you want to do that, you will have to do it in the Word document.
-
When complete, be sure to click the "Save" icon.
-
-
-
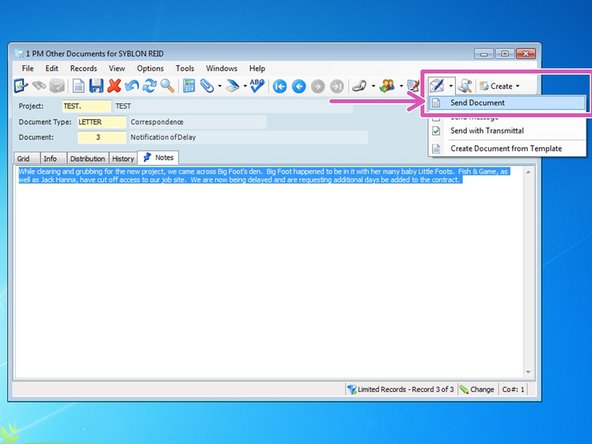
Once done creating the letter body, we are ready to create the document and send it. Click on the envelope icon and select "Send Document" to review and make any modifications to the template.
-
-
-
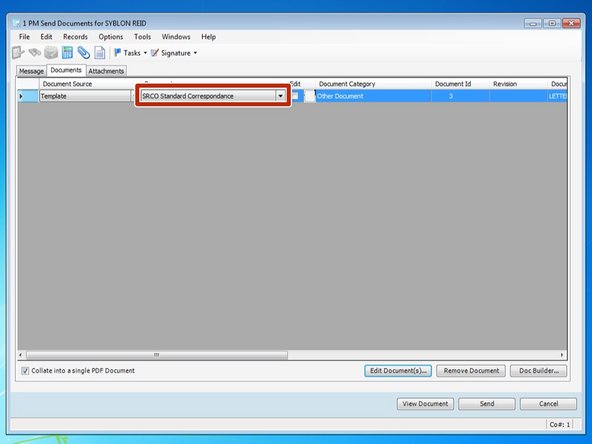
The default "Document" for this document type is "SRCO Standard Correspondence". If you have a custom template made, you can select it from the drop down menu.
-
If you want to make modifications to the letter, click on the "Edit" box then click the "Edit Document" button.
-
-
-
When the information you entered populates in to the document, you can go in to Word and make any edits you want, such as underlining, highlighting, bolding, adding photos, or adding a signature image.
-
-
-
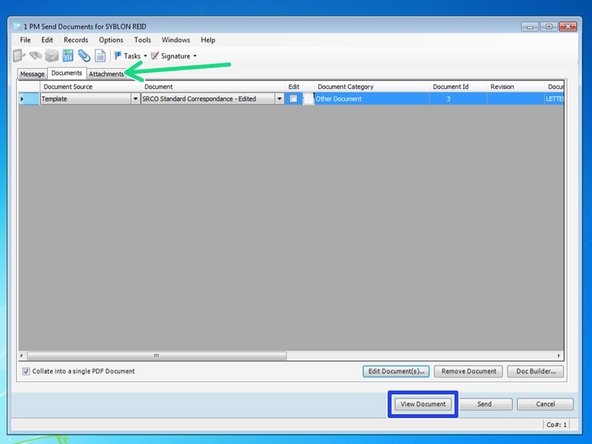
Note that once you make edits to a document, the document name will now say "Edited" to show you that changes to the original have been made.
-
If you have any attachments to this entry that you want to include after the letter, you can click on the "Attachments" tab and click on which attachments you want to include.
-
Prior to sending the letter, click on the "View Document" button to review the entire document one time to ensure it's correct.
-
-
-
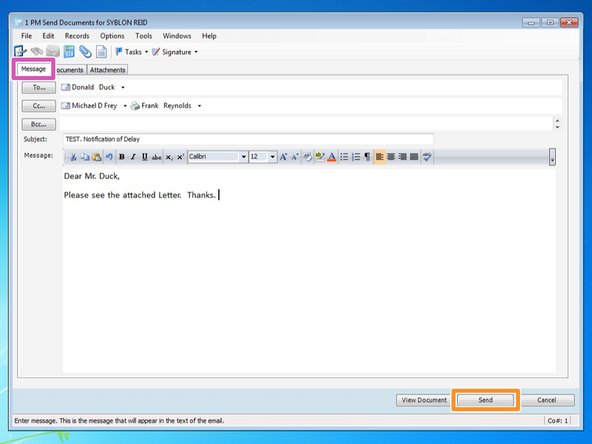
From the "Message" tab, you can add a message to the recipient that will show up in the body of the email.
-
Once complete, press the "Send" button.
-
Once sent, you can go back and change the Status of the letter from "Draft" to "Complete".
-