-
-
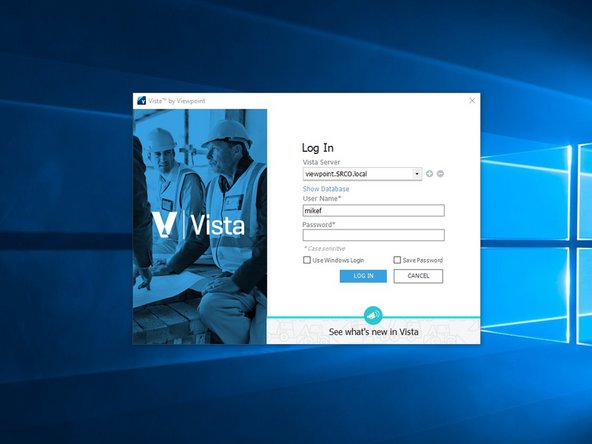
Log in to Viewpoint
-
-
-
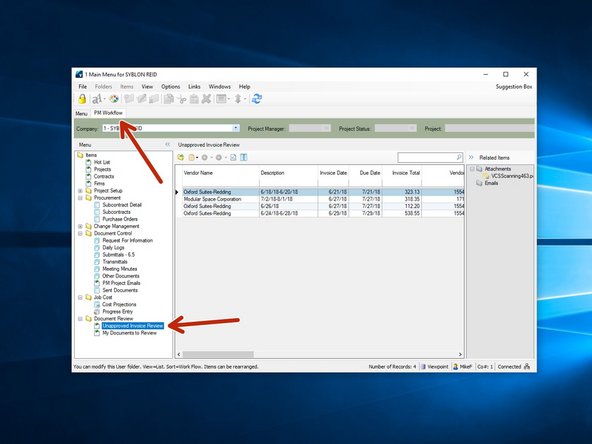
From the PM Workflow tab, click on "Unapproved Invoice Review" to see if you have any invoices that require attention.
-
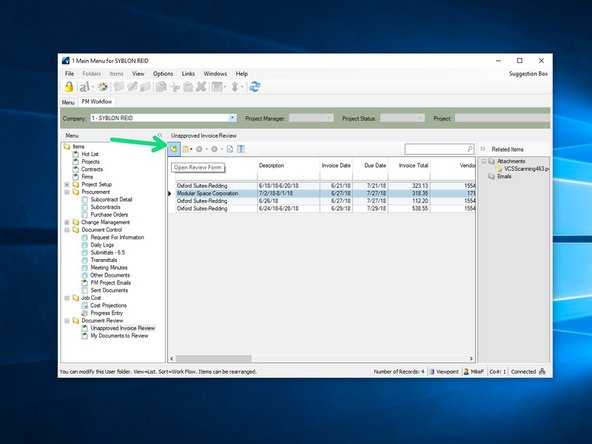
Select an invoice and click on the "Open Review Form" icon.
-
-
-
When the program opens and you select on the invoice you want to approve, you will see the associated scanned image of the invoice in the attachment lister. Double click on the file in the lister to see the attchment.
-
-
-
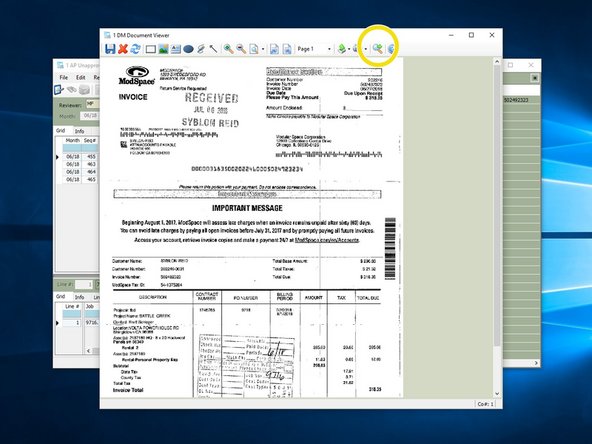
Clicking on the attachment will automatically open the attachment in Viewpoint's custom document viewer. That document viewer program is not conducive for viewing documents. Click on the eye glass to open the program in your default file viewer, either PDF or Bluebeam
-
Review the invoice to ensure the cost is correct. You can make notes and mark up the invoice, and all annotations will be saved on the attachment.
-
-
-
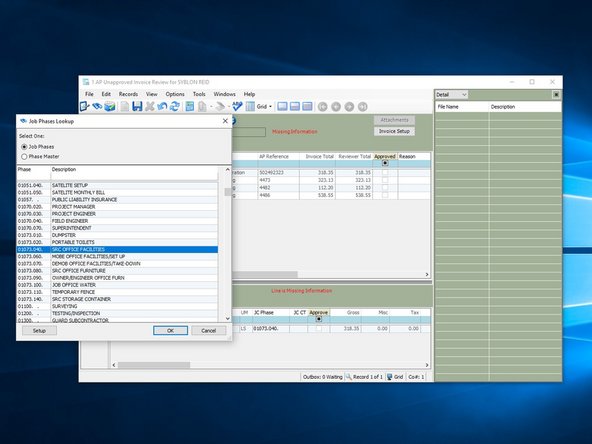
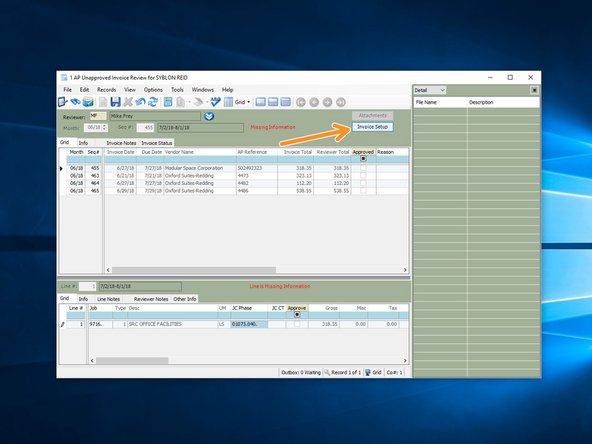
If the invoice will only be applied to one phase code, you can enter the phase code in the invoice detail section below.
-
Press the F4 key for a Lookup of all phase codes. Search for and select the one that is correct.
-
-
-
If your invoice needs to be coded to multiple phase codes, click on the "Invoice Setup" key.
-
-
-
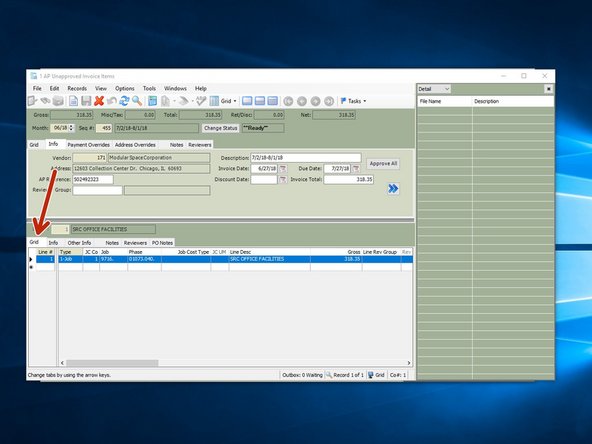
On the invoice detail section of the invoice, select the "Grid" view.
-
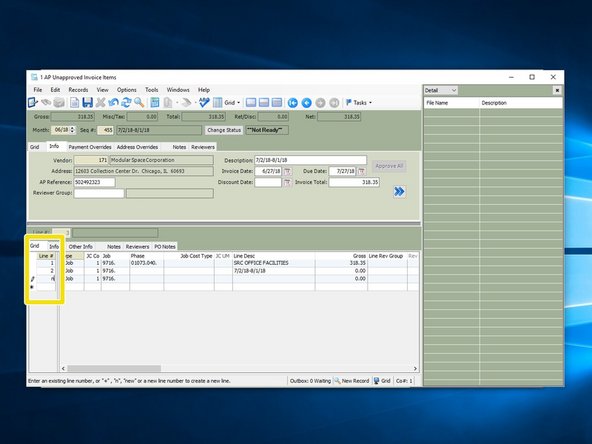
Start a new line by typing the next available line number, or simply typing an "n".
-
-
-
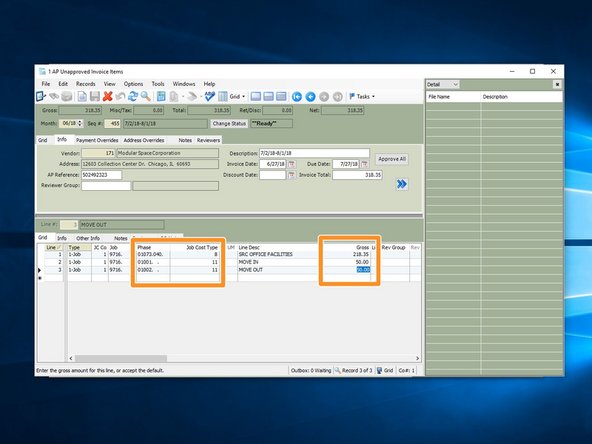
Insert the correct phase code, cost type, and dollar amount that you want charged to each phase code.
-
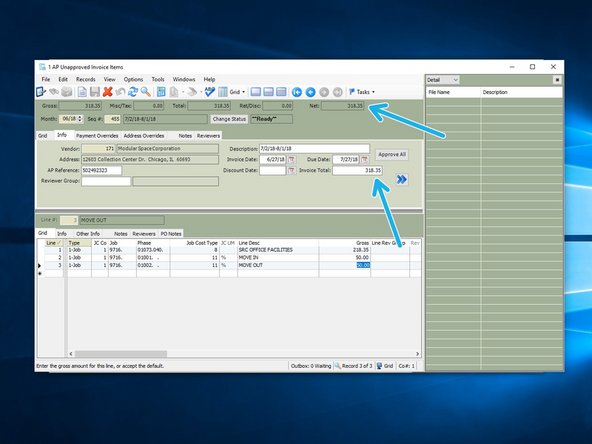
The "Invoice Total" is the dollar amount entered by A/P and the number that should be on the invoice. If you have multiple phase codes, be sure the "Net" amount equals the "Invoice Total".
-
When you're done entering that information, close the window.
-
-
-
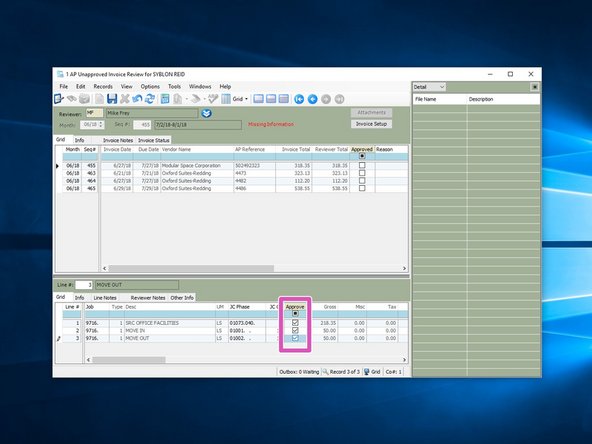
From the lower section of the invoice review window, if all information is correct, click the "Approve" check box on each item.
-
From the upper section, approve the entire invoice by clicking the "Approve" check box.
-
-
-
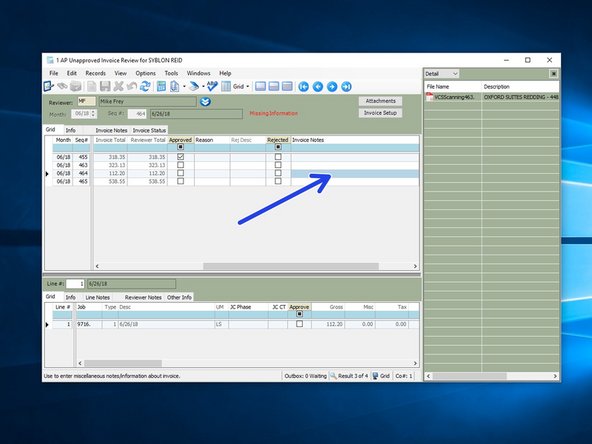
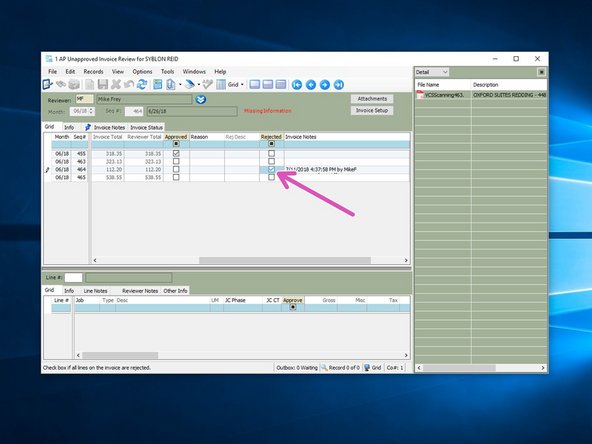
To reject an invoice, first put a note for the reason the invoice is rejected. Double click on the "Invoice Notes" line to open a window to leave a note. This will help A/P understand whi it was rejected in case they get a phone call from a vendor.
-
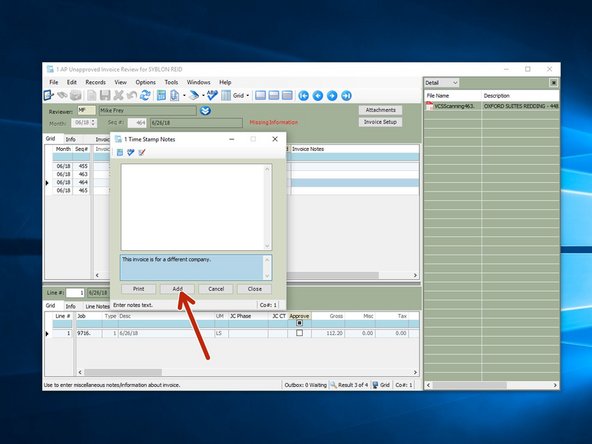
Leave a note and click on "Add", then "Close".
-
-
-
Click on the "Reject" box.
-