-
-
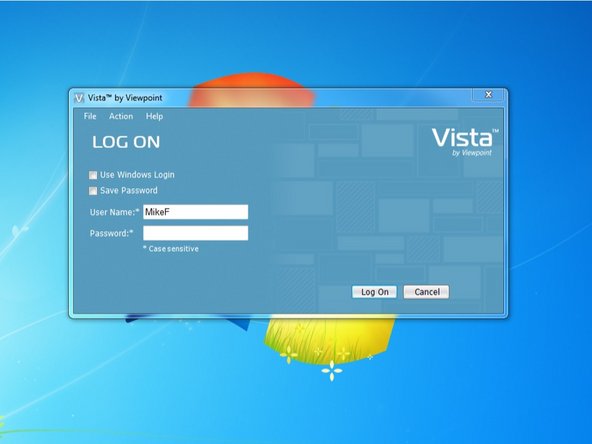
Log in to Viewpoint
-
-
-
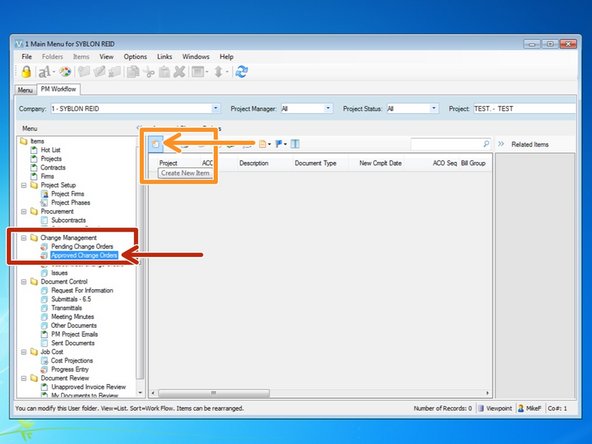
From the Change Management folder, select the "Approved Change Orders" program.
-
Select the "Create New Item" button.
-
-
-
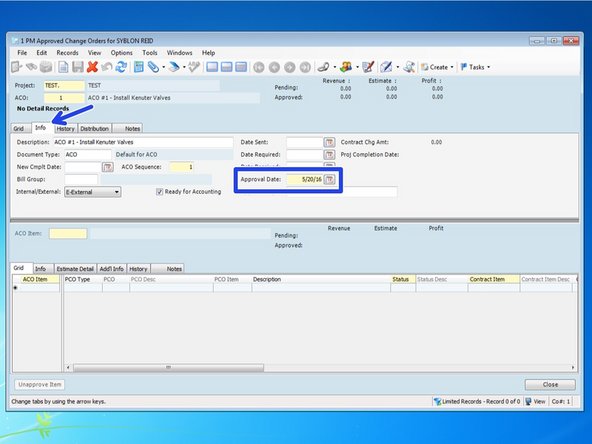
Viewpoint will automatically create the next ACO # available. If you need to adjust, you can type in a new number. Otherwise, type in a description for the ACO.
-
-
-
From the "Info" tab, you can fill in as many dates on the right as you know. At a minimum, put in the Approval Date.
-
-
-
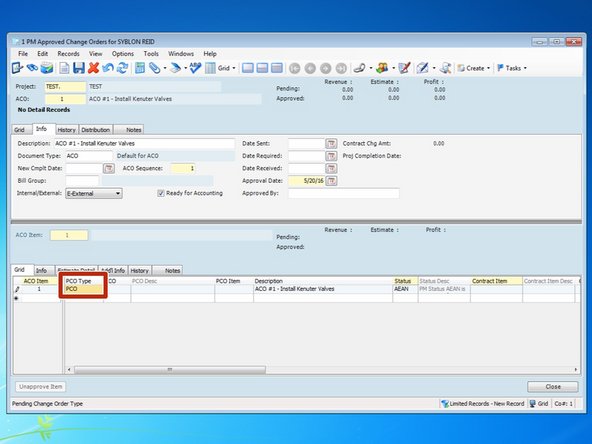
In the lower half of the screen, select the "Grid" tab and enter in "1" or the next available ACO Item number.
-
-
-
In order to pull the information from a PCO into an ACO, first input the "PCO Type", which would on most occasions just be PCO.
-
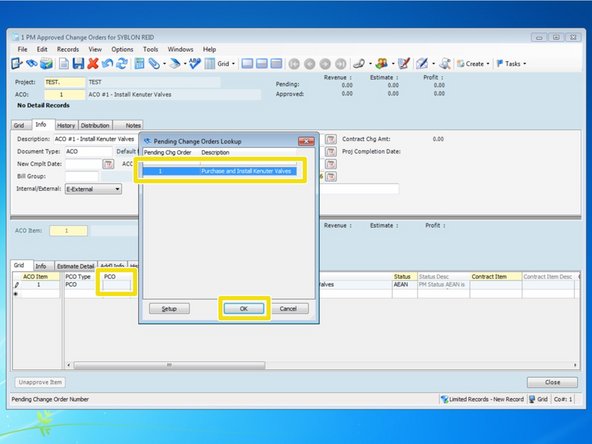
Next, select which PCO you want to incorporate in to this ACO. For a list of available PCOs, press the F4 key under the "PCO" field, select the PCO # and select "OK"
-
-
-
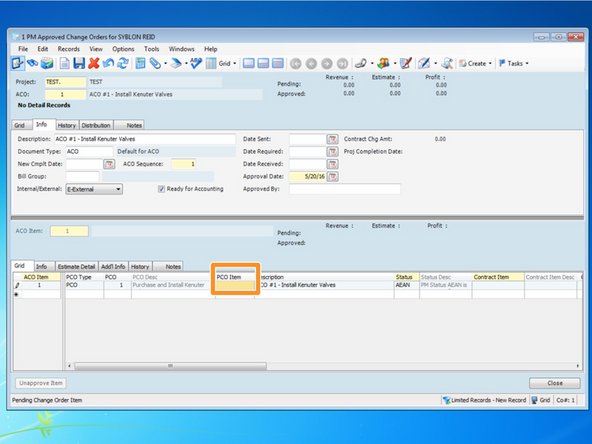
If you created your PCO with multiple items to break out portions of work, you would be able to select which PCO Items were approved and to be a part of this ACO. Select the field "PCO Item" and press the F4 key.
-
Fromt he lookup screen, select the PCO Item you want to associate with this ACO and click "OK".
-
-
-
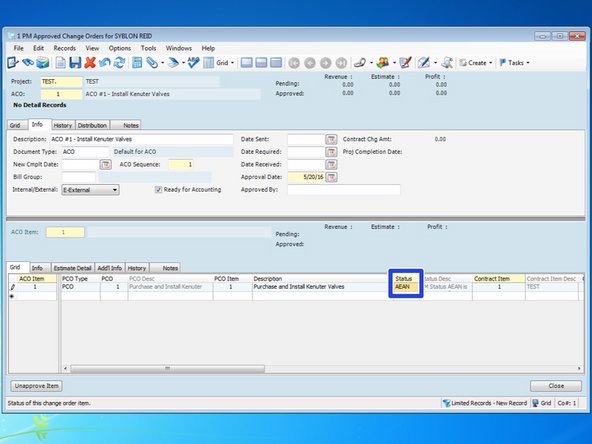
You need to change the "Status" of the ACO. Viewpoints default value is AEAN but this is not a recognized Status for ACOs. Select the Status field and press the F4 key.
-
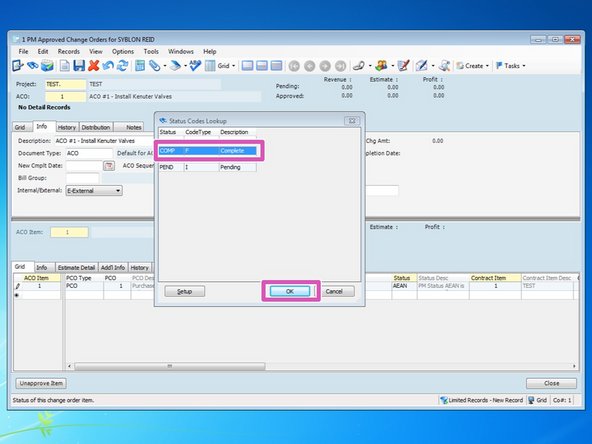
From the Lookup screen, select the "COMP" status and click "OK".
-
-
-
From the info tab, you can also review the information for this ACO. Be sure to check that the "Contract Item" is correct, typically set to 1. Verify all other information, including "Amount".
-
-
-
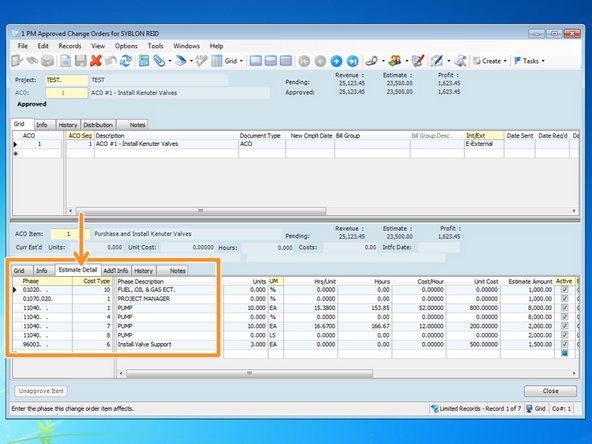
From the "Estimate Detail" tab, all of the line items associated with the PCO will be incorporated in to this ACO. If the owner has made any changes to the PCO, such as units or dollar amounts, you can adjust the items here prior to interfacing the ACO. You do not need to go back and change the PCO.
-
Be sure to check all costs one last time to ensure the ACO is correct.
-
-
-
Once the ACO is complete, go to the "Info" tab in the upper screen. From here, be sure to click on "Ready for Accounting" and press the SAVE icon. Let your Accounting administrator know that the change order is ready to be interfaced to Viewpoint.
-
Once the ACO is interfaced to Viewpoint, the budget will be revised to include all new costs, or Estimate Amounts.
-
On this screen, you can also attach any supplemental information you have for the change order, including any emails, attachments, or extra work reports.
-